15 Things to Do After You Purchase a Squarespace Template
Secrets of fast and effective Squarespace template customization
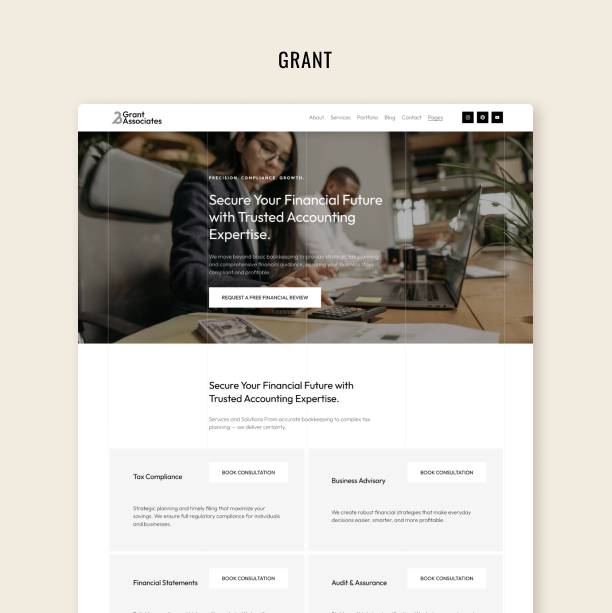
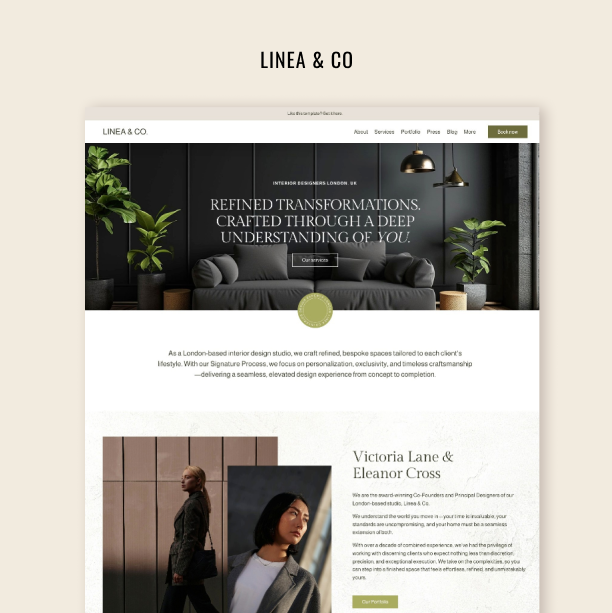
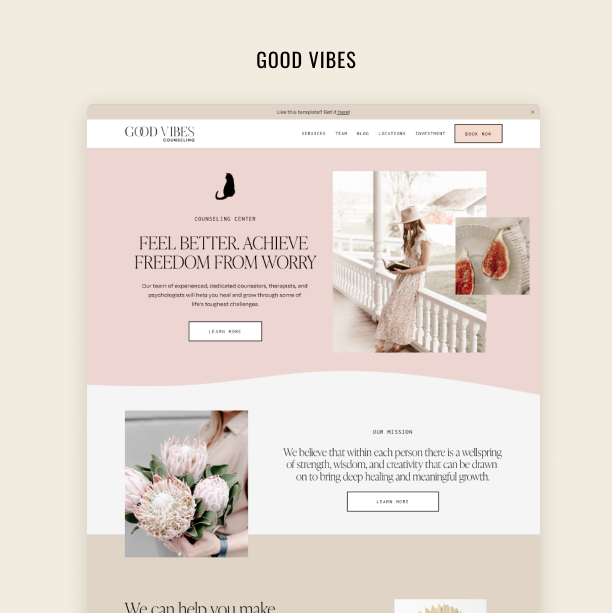
You’ve decided to update your website — congratulations! Consider investing in a high-quality template, because it is a great way to create a professional website without starting from scratch.
Whether you decide to go with one of our premium Squarespace templates or opt for another option, there are key steps to take to ensure a smooth setup. This checklist will help you launch faster, avoid common DIY mistakes, and make the most of your new design.
Here’s what you need to do next, once you bought a template.
Set Up a Password for Your Demo Site
When you purchase a premium Squarespace template from us, it comes with a free 12-month trial. This allows you to use all the features of the template, customize it, and build your website within Squarespace. However, once you are ready to take your site live, you’ll need to purchase a Squarespace subscription.
The first thing we recommend is setting up a password for your new site. To do this, go to Website Availability settings. The feature allows you to share your website with others before it goes live. It is helpful if you are working with copywriters or photographers or you just need feedback from a friend. You can also customize the cover screen to match your brand. This means you can keep your site in password-protected mode for the full 12-month trial without worrying about launching it right away. If needed, we can even extend your trial, though most clients complete their website within two weeks.
Try Squarespace for free – and save 10% when you purchase a subscription with code APPLET10
Change the Website Name and Edit SEO Settings
By default, your website will have the template’s name as its title.
Even before adding your logo, you should change your website name and meta description to reflect your brand.
You can change your website title in the header. To update it, open your site, click Edit in the upper-left corner, hover over the logo, and click the pen icon. A menu will pop up where you can enter your new website name.
Next, update your homepage meta description. This is what search engines display in return results, so it is pretty important.
Go to Analytics → SEO settings, and rewrite the meta description to accurately describe your business. Make it clear, compelling, and short — as of today Google only shows between 150 and 160 characters, and no one needs broken sentences.
You’ll also want to update meta descriptions for all your main pages, especially About, Services, and Portfolio.
To do this, go to the Pages menu. Click the settings icon next to each page on the left. This will bring up a menu where you can edit the SEO settings, page name, and meta description for each page individually.
Backup Template Pages
Before making any changes, it’s a good idea to back up your template pages.
Duplicating pages ensures you have a saved version of a page in case you want to restore the original layout later. And in our experience, it happens often.
To duplicate a page, go to Pages, click the gear icon next to the page, scroll to the bottom of the settings menu, and click Duplicate.
Drag this page down to the Not-Linked section in the menu, to declutter your header.
This way, you can experiment freely without worrying about losing important sections or layouts.
Of course, you can rebuild entire pages using saved sections. But there is a downside to this method – Squarespace has a limit on the amount of sections you can save. So to be on the safe side, it is better to duplicate pages.
Study the Template and Plan Your Website’s Copywriting First
Before making any design changes, study the template and see what sections are available.
Instead of focusing on colors, fonts, or styling, look at the structure from a copywriting perspective. Think about how each section is meant to present information and how you can use it for your content.
We strongly recommend planning your copy before adding it to the template.
Open a Google Doc and use the template as a guideline to draft your website content. Study the sections, understand the layouts, and use them as inspiration to craft your content.
You need to view copy as an element of design, that’s why take into consideration the quantity of the text in each section — you should strive to mimic the same headline and paragraph length. Longer passages of text can break the design.
Writing directly inside the template will slow you down and make it harder to organize your message. Once your copy is ready, it will be much easier to structure everything inside the template.
Backup Template Colors and Fonts
Before making any changes to colors and fonts, save a backup of the original settings.
The easiest way to do this is by taking screenshots or photographs of the template’s color palette and font names from the design settings.
To access them, enter page editing mode, click the pen icon in the top right corner, and open Design Settings.
You can screenshot the color palette and upload it to Canva to use the color picker or manually copy the color codes from the settings. Do the same for fonts — make notes of the original selections before making adjustments.
This ensures that if you ever want to revert to the template’s original styling, you have a reference to work from.
Tweak the Design Settings of the Template — But Do It Smart
When customizing your template, make minimal but strategic changes. This strategy will keep the design balanced.
We recommend changing only one color in the color palette — typically the highlight color, which is often the third color in the palette. This subtle change will make the template feel more personal while keeping the overall color system intact.
For fonts, only change the headline font. The headline font sets the tone and personality of your website, while the rest of the font hierarchy is already optimized in the template.
Avoid changing all fonts, font sizes, or paragraph fonts. Instead, focus on one key font change to add a personal touch without disrupting the design system.
If you want a custom feel without drastic changes, you can even adjust the tint of the highlight color instead of replacing it entirely. Keeping the template’s core structure intact will make your site look polished while slight changes will make it feel branded.
Mindless playing with a template’s design can ruin it and your money will be wasted. To experiment with colors and fonts you can always start another free trial website and use it as a playground for creativity.
Curate Photos and Illustrations for Your Website
Once you’ve chosen your highlight color, it’s time to curate photos that fit your website’s style.
Your images should feel like a cohesive collection — they need to have similarities in colors, tones, and textures, while still offering variety.
Study how the template uses images. Look at the types of photos, compositions, and placements used, and try to recreate that logic with your visuals. This will help maintain a cohesive look throughout your site.
Upload Your Content
Tweaking designs and layouts is one thing, but uploading your content is what brings your website to life.
If you’re designing a new page using template sections, you can easily pull saved sections from Favorites or copy them from duplicated pages.
We recommend planning your layout first, then filling it in with photos, images, and copy. This keeps the process organized and ensures your content flows naturally within the template structure.
Add a Favicon
Favicon is a relatively small detail that makes a website look more professional and polished. A browser icon might seem irrelevant, but it certainly elevates your style and makes your website recognizable among the bookmarks.
Even though they are displayed as small as 16px x 16px, you should prepare it sized between 100px x 100px, and 300px x 300 px.
Customize your forms
Forms are a great tool for businesses to gather client inquiries and potential bookings. We usually have a contact form on the Contact page of any template, although sometimes there are more on other pages.
You should edit the forms according to the needs of your business. Add the questions about the information you want to gather from your clients.
Also, while editing a form, check the email in the settings to ensure you will receive the answers.
Buy a Squarespace Subscription
Once your website is coming together and you’re getting closer to launch, it’s time to buy a Squarespace subscription.
To do this, go to Billing and upgrade your website. As Squarespace Circle members, we offer a 25% discount on the yearly plan, so be sure to take advantage of that.
Park a Domain Name
If you haven’t purchased a domain yet, you can do so directly through Squarespace, making it easy to connect to your site.
We personally use and recommend Cloudflare for domain management. However, connecting a Cloudflare domain to Squarespace requires a few extra steps.
You can find step-by-step guides for most domain providers — just Google “Squarespace + [your domain provider]”, and you’ll find easy-to-follow instructions. If you purchase a yearly Squarespace subscription, you also get a free domain for one year, which is a great option.
To connect a custom domain, you’ll need an active Squarespace subscription, so be sure to upgrade before completing this step.
Publish Your Site
Now that you have a domain name and an active subscription, you’re ready to publish your site!
Remove password protection in the Website Availability settings, and make your website go live. You can now share your official domain link with others and start promoting your site.
Set Up Google Search Console
To help Google recognize your website and index its pages, you need to set up Google Search Console.
This can only be done after you publish your site. Once your site is live, go to Analytics → Keywords, click Configure Google Search Console, and follow the prompts to connect your site.
You can create a Google Search Console account in advance to make the process smoother.
Once connected, you need to submit your sitemap to ensure Google crawls your website. Your sitemap link follows this format:
yourwebsitename.com/sitemap.xml
Copy your link, go to Search Console → Sitemaps, and paste it there. This step is essential for getting your site indexed and improving its visibility in search results.
Set Up Google Analytics
Just like Google Search Console, setting up Google Analytics helps improve your website’s visibility and provides valuable insights into visitor behavior.
To connect to Google Analytics, go to Settings → Website Tools → Developer Tools, and paste your Google Analytics ID. Once added, Google will automatically start tracking your website’s traffic.
However, Squarespace has built-in analytics that are just as powerful. Squarespace Analytics provides detailed insights right out of the box, including how users interact with buttons, forms, and other key elements on your site. It’s worth exploring both tools to get a full picture of your website’s performance.
Bonus: Three Mistakes People Make When Customizing Templates
Even with a premium Squarespace template, many people overcomplicate the customization process. Here are three common mistakes to avoid.
Mistake #1: Changing the Logo First
The first thing many people do is swap the logo — and then frustration kicks in.
They realize their logo doesn’t fit well with the design, leading to endless tweaks and unnecessary changes to the website. This spiral of adjustments often makes the site look worse instead of better.
Instead, start with a strategy. Plan your design tweaks, content, and structure first before making any visual changes.
As for the logos, they should fit the places they are meant to be placed in. You have to have several logo versions. Generally, the header logo is often horizontal, it ensures that the header is not too tall, while the footer logo can be a square picture.
Mistake #2: Not Having Content and Images Ready
Customizing a template without having your content and images prepared will slow you down.
If you plan everything beforehand — your text, photos, and page layouts — you’ll save a ton of time and avoid unnecessary back-and-forth adjustments.
Write your copy in a Google Doc, curate your images, and make sure everything is ready before you start editing inside Squarespace.
Mistake #3: Customizing Too Much
A premium Squarespace template is already a custom design — it’s structured, styled, and ready for use.
All you need to do is replace the content and images, and your site will be polished and professional. Yet, some people try to redesign the entire template, turning it into another custom project.
If you’re completely reworking the template, you’re wasting time (and money) — and missing out on the design expertise you have bought from us.
Instead, trust the template’s structure, typography, and layout. Use it as intended, and you’ll launch much faster while maintaining a professional, well-designed site.