How to Add a PayPal Button to Your Squarespace Website
A comprehensive10-minute guide on PayPal integration with Squarepace
Are you running a thriving e-commerce through your Squarespace website? If the answer is a resounding "yes," then you understand the importance of a reliable payment processing system to facilitate seamless transactions for customers.
Enter PayPal, one of the most renowned payment processors that can seamlessly integrate with your Squarespace website. As a trusted and recognizable name in the world of online payments, PayPal has become the preferred payment method of millions of users across the globe. So, it should be among the options you offer users at checkout. Or you can add PayPal donation button in other places of your Squarespace website.
The good news is that setting up PayPal on your Squarespace site takes less than a minute, and we're here to guide you through the process. Let's dive in!
Adding PayPal to Squarespace: Good to Know
Now, while the process of linking your PayPal account to Squarespace is quite straightforward and intuitive, there are some things you should take into account:
PayPal Business account. To begin accepting PayPal payments on Squarespace, it's essential to have a PayPal Business account. If you currently have a PayPal Personal account, you can easily upgrade it at no cost. During the setup process, you'll be guided to either create, link, or upgrade your account.
Review processing fees. Be sure to familiarize yourself with PayPal's processing fees, and keep in mind that PayPal does not reimburse processing fees when issuing a refund for an order.
Product limitations. PayPal cannot be used to pay for Squarespace subscription products, subscription pricing plans, or fixed-amount pricing plans paid in installments, so you should carefully consider the kind of products or services you offer and see if PayPal is the right fit for you.
Card attachment. Remember that PayPal only permits the attachment of a debit or credit card to one PayPal account at a time. If you're in the process of setting up a PayPal Business account and the card you're attempting to use is already linked to another account, PayPal will not accept your card details.
How to connect PayPal to Squarespace
Connecting your PayPal account to your Squarespace website is a breeze. Let’s go over the process step by step:
Step 1: Connect PayPal
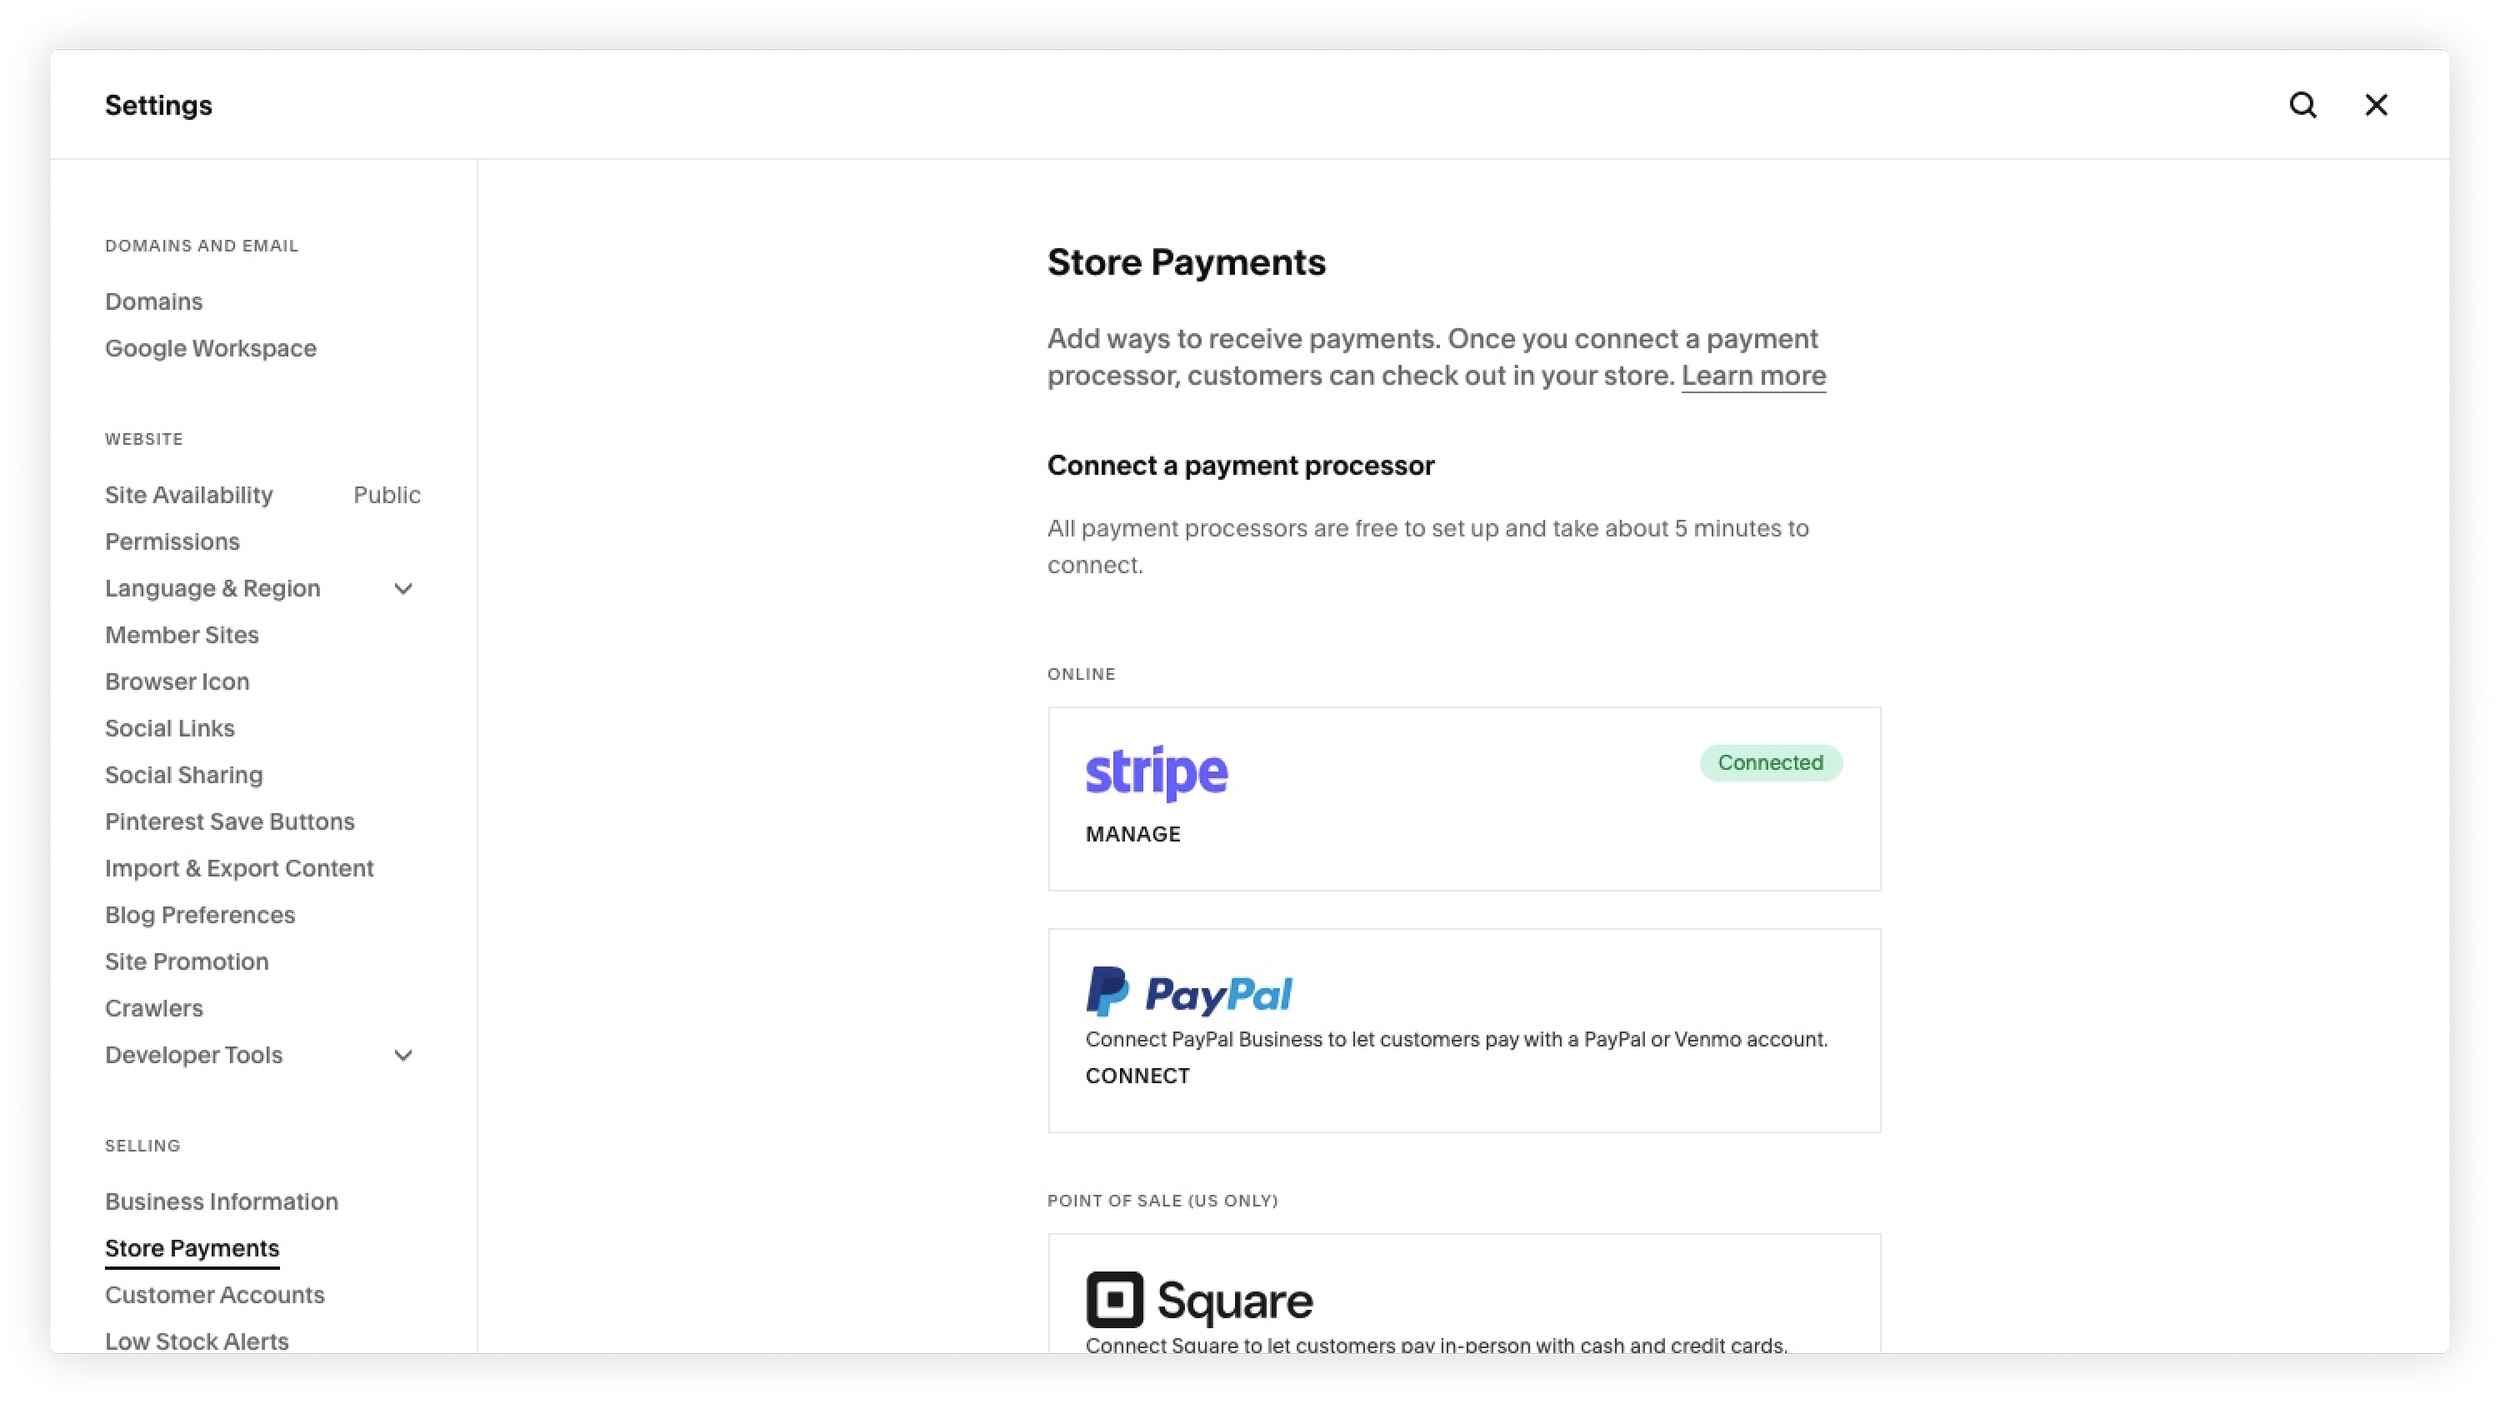
Begin the process by accessing the Store payments panel and selecting "Connect PayPal." A pop-up window will appear, offering you the choice to log into your existing PayPal Business account, upgrade a PayPal Personal account to Business (free of charge), or create a new PayPal account.
Step 2: Link your PayPal business account
You’ll have to either connect your existing PayPal Business account or set up a new one.
For existing PayPal accounts:
Enter the email linked to your PayPal account and select your country.
Click "Next."
Log in. If necessary, follow PayPal's instructions to upgrade to a free PayPal Business account, including any identity verification steps.
Upon seeing the successful authorization message, click "Go back to Squarespace."
To sign up for a PayPal business account:
If you don't have a PayPal Business account yet, head to their site, click Sign Up, and enter your email address.
Click "Next."
Fill in your details and click "Agree and Continue."
Use the drop-down menus and other fields to describe your business. Click "Continue."
Enter your personal information and click "Submit."
Once you see the confirmation message, click "Go back to Squarespace.
Step 3: Verify your PayPal account
Verifying your PayPal account is crucial. If you don’t verify it, you won’t be able to withdraw funds. If you've already completed this step, you can proceed to "Approve Squarespace Commerce transaction fees."
To verify your account, PayPal will send you the typical "Confirm your email address" email. Follow the instructions in this email, and if you can't find it in your inbox, maybe check your spam folder.
Step 4: Approve Squarespace commerce transaction fees
Follow these steps to authorize the PayPal billing agreement and approve Squarespace Commerce transaction fees.
On your Squarespace site, in the "Next Step" window, review your plan's Squarespace Commerce transaction fee details, then click "Agree & Continue."
A pop-up window will open. Log into your PayPal Business account, choose a payment method for the fees, and click "Agree & Pay."
If you haven't designated a credit or debit card for your PayPal account, you may be prompted to do so.
Upon accepting the fee agreement, your PayPal connection will be complete, and you'll receive a confirmation email from Squarespace.
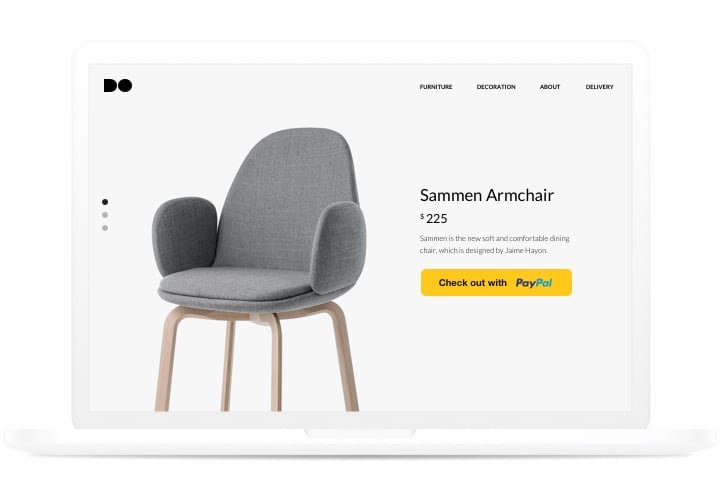
And that’s it! If you’ve followed the steps, then your customers will find a "Continue with PayPal" option at checkout when purchasing your products. They can then log into their PayPal accounts to finalize their purchases.
How to add a PayPal donation button
Whether you offer online services, workshops, courses, or digital products, or you simply want to offer a donation option for those who value the content you share or support your cause, a donation button is the key. A donation button serves as an ordinary Squarespace button but links directly to a payment processor for users to make donations.
When a visitor clicks on the donation button on your Squarespace site, they will be redirected to a page where they can choose an amount and provide the necessary information to complete the payment.
And the best part is that it is fully customizable. You have the flexibility to personalize the button's design, the available donation amounts, and the button's text, and you can even include a form to collect specific information from donors as well.
To include a donation button on Squarespace, you can use donation blocks. These blocks take the form of Donate buttons on your page and redirect visitors to a dedicated page to confirm their donation amount. Donation blocks operate through Squarespace’s Commerce platform, allowing your visitors to make contributions using Stripe, PayPal, or Apple Pay.
Adding a donation block to your page is a straightforward process. Here's how to do it:
Begin by editing the page or post where you want to add the button. Click on "Add Block" or an insert point, and select "Donation."
To customize the block, click the pencil icon to open the block editor.
If you haven't already connected a payment processor, click "Set Up Payment Processor." This action opens the Store payments panel, where you can seamlessly link your site to PayPal.
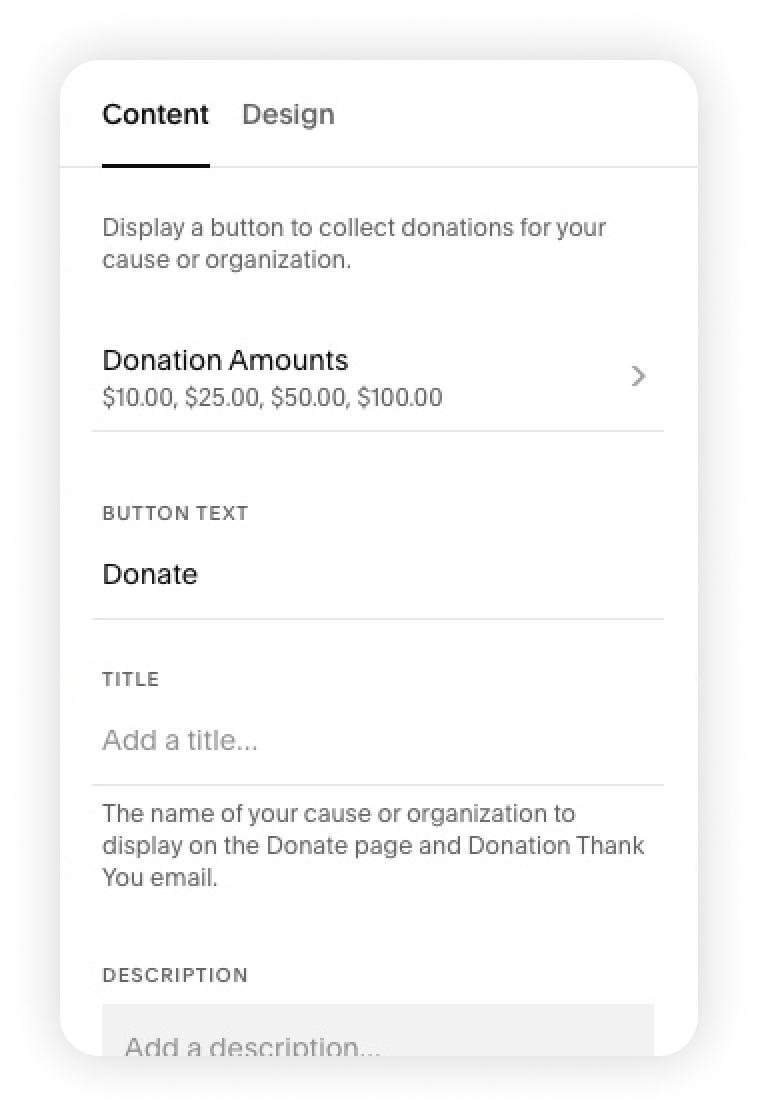
Click on "Donation Amounts" to include suggested donation amounts that visitors can choose from.
Customize the label text for the donation button to suit your needs.
In the "Checkout Title" field, enter the title you want displayed on the donation page and in emails sent to donors.
Provide information about your cause or campaign in the "Checkout Description" field. This description appears in the "Your Contribution" section during the checkout process.
To further customize the donor’s experience, click "Edit Donation Receipt" to access the Customer Notifications panel, where you can customize the emails sent to your generous contributors.
If you require additional information from donors, click "Add Form Fields" to include more fields in the checkout process.
Finally, head to the "Design" tab to switch the button’s alignment.
And that’s it! You are all set up to start accepting donations from your lovely audience.
How to embed a PayPal button using a third-party service
A third option to set up a PayPal button on your Squarespace website is to use a third-party solution. There are several plugins designed to help you integrate payment methods and buttons into your Squarespeace website, including PayPal.
Elfside’s Squarespace PayPal Button plugin, for instance, allows you to embed PayPal as a payment or donation method on your website in a matter of clicks. That way, you can seamlessly handle checkouts, recurring subscriptions, and donations from your audience. What’s more, you can choose a template and craft your very own custom button, selecting the preferred payment method and fine-tuning its appearance to create a truly distinctive experience.
It takes less than a minute and zero coding knowledge to connect Elfside’s plugin to your Squarespace website:
Build your custom PayPal plugin. Customize the widget's interface to match your needs. You can use Elfside’s free demo to craft a plugin with your preferred payment features (such as donations, subscriptions, or payments).
Copy the plugin setup code. After configuring the widget, simply copy the code needed for setting up the plugin.
Publish the plugin on your Squarespace site. Place the plugin in the desired location on your page using a code block on Squarespace. Save and publish the changes.
Then, simply visit your website and ensure everything is working properly. And that’s about it. Using a third-party plugin is an incredibly simple solution to add a PayPal button to your website, and it offers a whole new level of customization that might not be possible with the Squarespace native alternative.