How To Use Squarespace As a Web Designer
As an all-in-one solution, Squarespace is usually quite attractive to businesses and entrepreneurs looking to build an online presence. However, they soon realize that creating a website is not as easy as it sounds – even with Squarespace!
As a web designer, you can learn the ins and outs of Squarespace to make sure you know how to get the best out of it to create stunning and highly converting websites for your customers. In this article, we’ll cover some of the Squarespace basics from a web designer’s perspective.
Try Squarespace for free – and save 10% when you purchase a subscription with code APPLET10
Set up your Squarespace account
The first thing you should get is your Squarespace account. An account works like an umbrella, as many websites can live under one account. You can have an unlimited amount of websites in one account, and have different permissions and rights to access them. You might be an owner of some, but only an admin, contributor, or even less in others.
Your account dashboard is a place to review your sites, subscriptions, and account profile in one place. As a designer, you will contribute to multiple sites, and your account dashboard is the place for navigating and managing them all.
You can also review basic subscription details in the account dashboard, however, it is not possible to take most of the billing actions here, because each Squarespace website has its own subscription and is billed individually.
Choose the right Squarespace plan
Now, when deciding which plan to use for a particular website, there are some things to consider. First, choosing a plan will depend on your client’s specific needs, but the Business plan is probably the best choice for most of your projects if you don't need advanced e-commerce functionality.
Most importantly, the Business plan allows you to fully customize the website with CSS and JavaScript, which is essential for designers who want to part ways with default Squarespace templates and graphic elements. Business plan also includes promotional pop-ups and announcement banners – marketing features we love to use in our designs.
For updated differences among plans check current Squarespace’s pricing.
Refund tip: First, I’ll give you some context on Squarespace payment policy. If you pay monthly, you're not eligible for a refund if you decide not to go ahead with the project for whatever reason. If you upgrade a site with a yearly plan, though, you have 14 days to cancel the plan completely and get a refund.
Once 14 days go by on your yearly and you’re no longer eligible for a refund, but you can switch your subscription to monthly. When you do this, Squarespace will send you a prorated refund, as if you pay for a monthly plan. This little tip is great if a client has an upgraded website but they want a new one and you need to start from scratch.
Try Squarespace for free – and save 10% when you purchase a subscription with code APPLET10
Get a Squarespace Circle membership
Another thing we recommend you do when starting out is become a part of Squarespace Circle. It’s a program designed by Squarespace to support the community of creatives, developers, and designers who use the platform to build websites for clients.
As such, there are some great perks involved in being a Circle member. On the one hand, Circle members get longer trial periods. To be exact, after joining Circle, every new site you create starts with a six-month trial, while the standard trial period lasts only 14 days. Since the web design process takes time the extended trial to build the website behind the scenes comes in handy.
Here’s a pro tip for you: If you’re a Circle member and you need more time when a trial period ends, you can easily extend it by adding /extendtrial to the site’s URL and press Enter.
Circle members also get optimized customer support and access to exclusive content – a great way to stay on top of things and offer the best and newest to your customers. Plus, once you have become a member, you get a 20% discount on annual plans.
The program is free and open to anyone who wants to apply, and it’s the perfect tool for designers to grow their businesses with ease. Before joining, though, you need to be a contributor or have built at least three active Squarespace sites. By active I mean they are not trial versions, but paid for and published online.
If you meet the criteria to join Squarespace Circle, follow these steps to apply:
Head over to the Squarespace Circle page, scroll down, and click Get Started.
Log in with your Squarespace email address and password.
Squarespace will check if your email address is linked to at least three paid sites. If it is, you’ll be taken to the next step. If it’s not, a “Not Yet Eligible” message will appear.
Follow the prompts to agree to the terms and conditions and, optionally, enter your website's URL.
Once you’re done registering, you'll get an official welcome email.
Master the design process on Squarespace
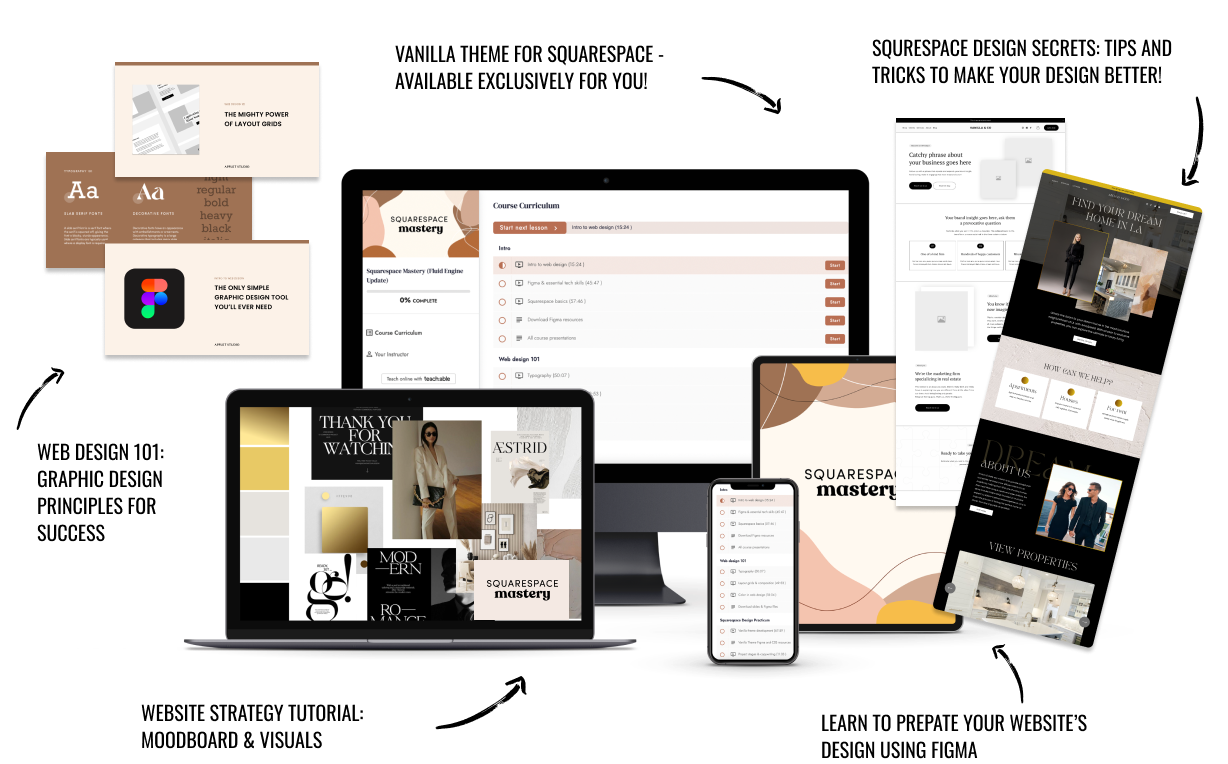
Using Squarespace to build a website can be a different experience from the typical web designing process. And if you want to start your journey as a web designer on the platform, you need to get a good understanding of the ins and outs of designing on Squarespace to offer the best to your customers. You may want to check out our Squarespace Mastery course if you want to learn how to design a website from scratch.
One significant difference is that Squarespace provides you with pre-designed templates and a drag-and-drop interface. If you know how to use these functionalities to your advantage, the design process becomes more streamlined and user-friendly.
When you create a new site, the platform offers you two choices: You can either start with a blank site or start out from a default template. Squarespace offers a wide range of templates to use as a canvas, and they keep expanding their selection every day. Templates are a great way to start on the right foot until you get to grips with how the platform works.
Regardless of whether you start with a blank side or a template, once you’re on your site, you can add, move, and remove different elements from your site. These are known as “blocks,” and you can drag and drop different block types on your site to customize the content’s style and structure.
As a web designer, and regardless of whether you’re using a template or a blank site, you’ll use blocks to customize your pages with text, images, buttons, forms, and more.
Another key difference with more traditional web design is that Squarespace doesn't require you to have coding knowledge – emphasis on “require.” Sure, you don’t need to know how to code to build a gorgeous website on the platform. But a little knowledge of CSS won’t hurt. Squarespace gives you the possibility to add custom CSS code to tweak the design. This will allow you to think outside the box and create highly customized sites that will meet your customers’ every wish.
Finally, another key Squarespace feature is that it offers a range of built-in features and integrations that can save you time and effort, such as e-Commerce capabilities, social media integrations, and email marketing tools. When they say “all-in-one platform,” they really mean it! Learning to add these integrations to your client’s project is quite easy and can enhance the overall experience on the site.
Transfer ownership of a website to a client
Once your design is ready to go live, you’ll need to transfer ownership of the site to your client. Remember that all your designs live in your account, but ultimately they belong to your customers. So, transferring ownership is the final crucial step in the process.
Let’s define the roles at play during the design process. First, we have the site owner, which is established by the owner's permission level. A site can only have one owner, who can't be removed by any other contributor. Then, you have contributors – users to whom the owner grants access to the website. As a site owner, you can add multiple contributors with administrator permissions.
Now, as the current site owner, you can only transfer ownership of your site to another contributor. That means you’ll need to add your customer as a contributor to the site to hand over the finished product. After you transfer ownership, you will become a contributor with administrator permissions, and the client will become the site owner.
To transfer ownership of a Squarespace site:
If you haven't already, invite the future site owner as a contributor to the site.
Open the Permissions panel.
Click the current site owner's name under Owner and then click Transfer Ownership.
In the pop-up message, verify your account by logging in, then select the new owner from the drop-down menu.
Click Continue and then Confirm.
After transferring ownership, your job is pretty much complete. However, it’s always a good idea to offer continuous tech support to customers who are still getting to grips with Squarespace. By doing that, you can offer a seamless transition and an outstanding experience to your customers.
Creative Workshop Series for Squarespace
The workshop is jam-packed with design goodness. Inside, you’ll find the following topics:
What size should I design for? Responsive layouts and industry standards
Typography 101: How fonts can elevate your design & look professional
My approach to using colors in web design
Complete Figma tutorial
How to use layout grids to direct the attention of your website visitors
How to create a mood board and plan your website visuals
Squarespace Vanilla theme build-out: Complete walk-through, CSS snippets and Figma wireframe
Massive Squarespace design practicum: We go from a mood board to a finished design on Squarespace in a matter of an hour. Two designs included along with CSS plugins and Figma templates
Redesign 2 real websites with me in real time
How to grow as a designer and how to look for creative inspiration
Plus, there are some really helpful documents included: Complete Squarespace development checklist, copywriting and branding guides, sample client questionnaire and so much more!
Are you in? I’ll see you in Squarespace Mastery!


